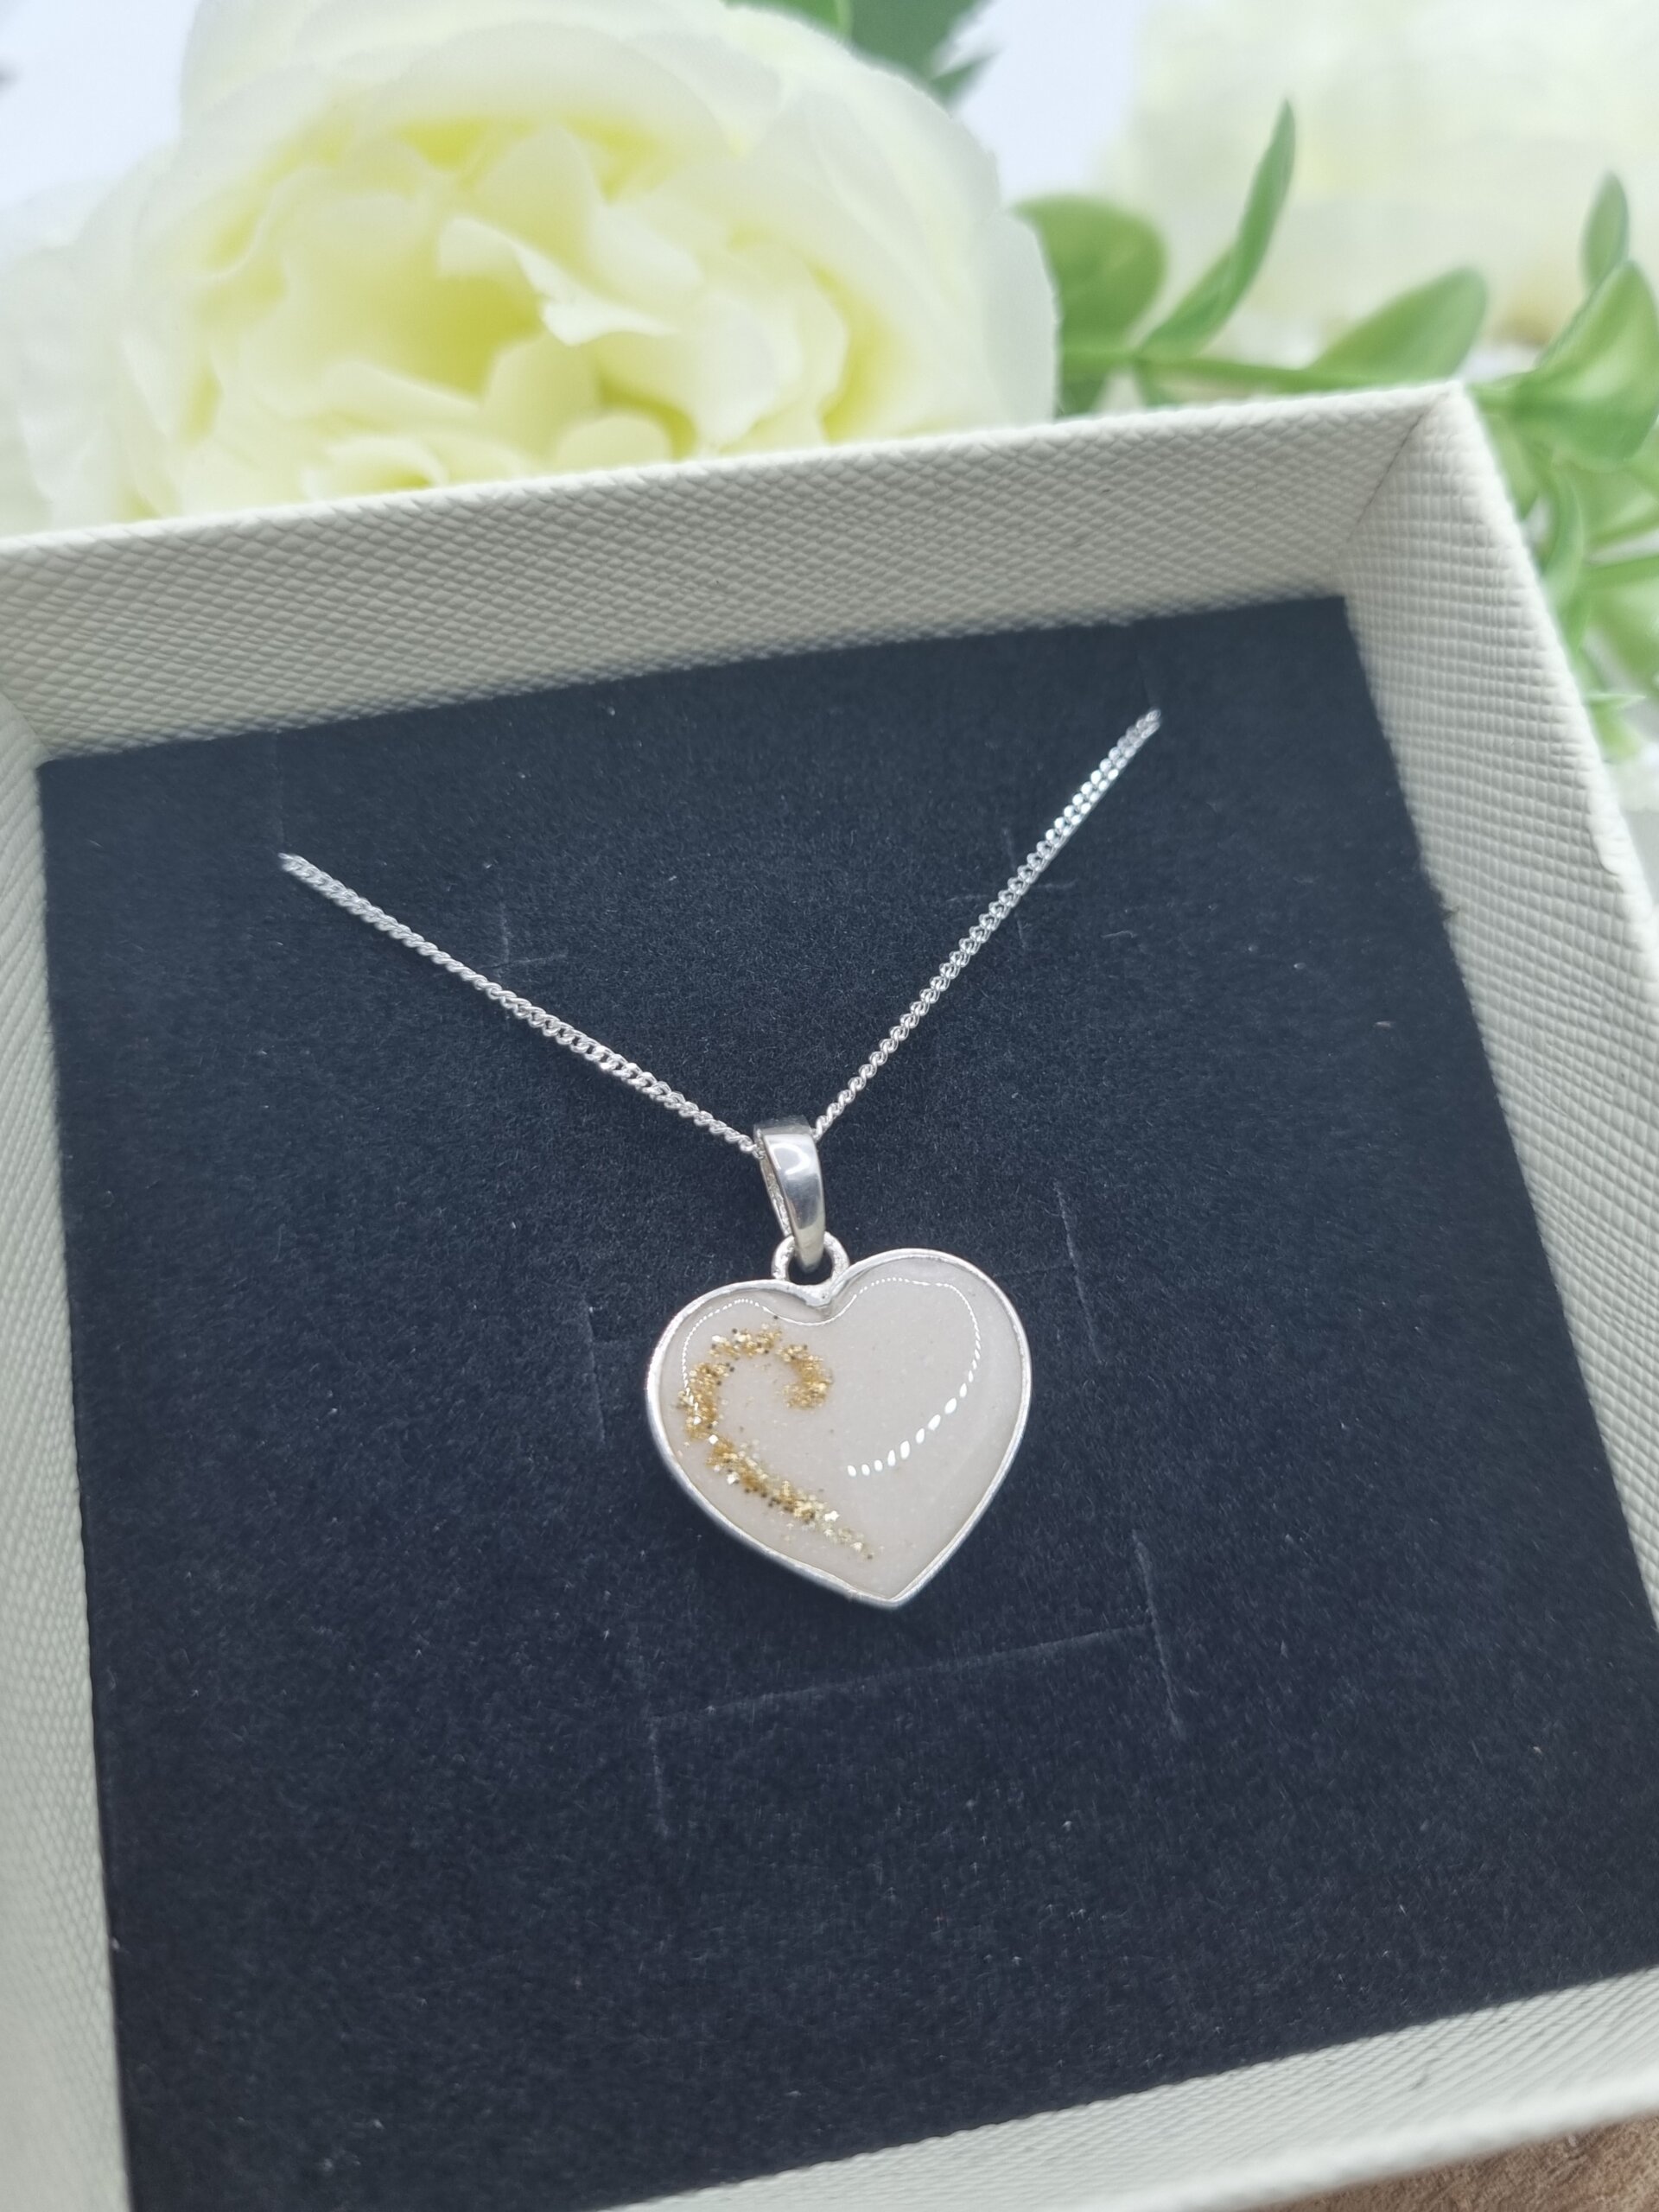
Preserving flowers in resin is a rewarding way to turn sentimental blooms into beautiful, lasting keepsakes. Whether it’s a wedding bouquet, flowers from a special occasion, or a sentimental bloom gifted by a loved one, creating your own resin keepsake allows you to capture memories in a unique and personal way. If you’re ready to try this craft yourself, here’s a step-by-step guide to help you get started.
Step 1: Choose and Prepare Your Flowers
The first step is selecting the flowers you want to preserve. Keep in mind that not all flowers will maintain their colour perfectly, so choose blooms with deep, vibrant colours for the best results. Popular choices include roses, daisies, and lilies, but you can use any flower that holds special meaning to you.
To prepare your flowers for preservation:
- Dry Them Completely: Fresh flowers must be thoroughly dried to prevent moisture from affecting the resin. Use silica gel, hang them upside down, or press them flat, depending on the look you want to achieve.
- Trim and Arrange: Once dried, trim the stems and leaves to the desired length. You can also arrange the petals for smaller projects like jewellery.
Step 2: Gather Your Materials
To create a resin keepsake, you’ll need:
- Clear epoxy resin and hardener, I recommend using Apex resin from www.justforyouonline.com
- A mould in your desired shape (coaster, block, jewellery, etc.).
- Mixing tools (cups, stir sticks).
- Gloves, apron and a well-ventilated workspace for safety.
Optional: Add glitter, gold flakes, or small decorative elements to personalise your piece.
Step 3: Prepare the Resin
Follow the instructions on your resin kit to mix the epoxy resin and hardener. Stir slowly to avoid creating bubbles, as these can affect the clarity of your piece. Once mixed, let the resin sit for a few minutes to allow air bubbles to rise to the surface. Use a heat gun or a lighter to pop the surface bubbles.
Step 4: Place the Flowers
Pour a thin layer of resin into the mould, then place your flowers carefully into the resin. Use a toothpick to adjust the position of the flowers as needed. Let this layer cure slightly to hold the flowers in place before adding more resin.
If you’re preserving a large bloom like a rose, you may need to work in layers to fully encase it while maintaining the flower’s shape.
Step 5: Pour the Final Layer and Cure
Once the flowers are secure, pour the remaining resin to fill the mould. Ensure the flowers are completely covered and remove any air bubbles by gently blowing on the surface or using a heat gun.
Let the resin cure according to the manufacturer’s instructions—typically 24 to 72 hours. Be patient, as proper curing is key to achieving a clear, durable finish.
Step 6: Demould and Finish
Once cured, gently remove your piece from the mold. If the edges are rough, sand them down with fine-grit sandpaper. You can also polish the surface for a glossy, professional finish.
Tips for Success
- Work Slowly: Rushing can lead to bubbles or uneven curing. Take your time for the best results.
- Experiment with Moulds: Try different shapes and sizes to see what works best for your flowers.
- Have patience: The final result is worth it!
Why Resin Keepsakes Are Worth the Effort
Creating your own resin keepsake is more than just a craft—it’s a way to preserve memories in a tangible, lasting form. Whether it’s a single flower petal in a necklace or an entire bouquet in a display block, resin art allows you to hold onto the beauty and sentimentality of your flowers forever.
Ready to give it a try? Gather your blooms, unleash your creativity, and turn your sentimental flowers into timeless works of art!
If you’d prefer a professional touch, check out our resin preservation services for expert-crafted keepsakes made just for you.

